.png?width=98&height=67&name=Logo%20(13).png)
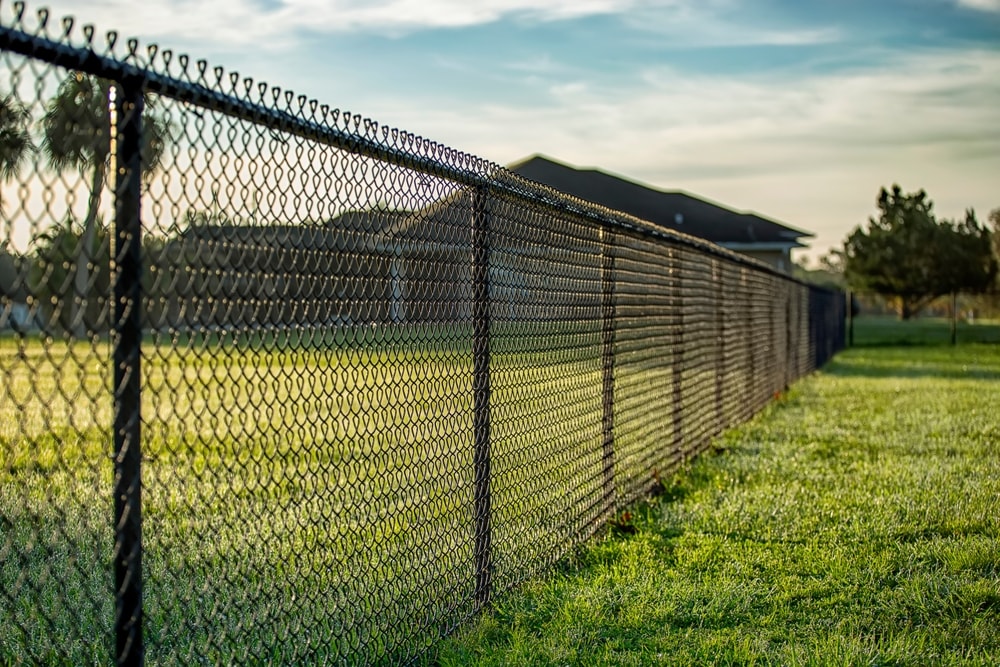
-3.jpg) How to Install a Chain Link Fence: A Professional Guide" loading="lazy">
How to Install a Chain Link Fence: A Professional Guide" loading="lazy">
Installing a chain link fence is one of the most cost-effective ways to secure a property while maintaining visibility. Whether you're a contractor working on a residential project or handling a commercial installation, chain link fencing offers durability, versatility, and excellent value. This guide will walk you through the professional installation process, ensuring your fence stands strong for years to come.

Key Takeaways
- Proper planning and preparation are essential before installation, including checking local building codes, obtaining permits, marking property lines, and contacting utility companies.
- Post installation is the foundation of a sturdy chain link fence, requiring precise measurements, proper depth (below the frost line), and correctly mixed concrete.
- Terminal posts (end, corner, and gate posts) must be set first and require larger holes and more concrete than line posts to withstand tension.
- Professional installation techniques include using a come-along winch for proper fabric tension and ensuring precise measurements throughout.
- Material selection impacts longevity, with commercial applications typically requiring heavier gauge materials (9-gauge) compared to residential installations (11.5-gauge).
- Special considerations for challenging terrain include using step or racked installation methods for slopes.
- Gate installation requires extra attention to ensure proper clearance, swing, and alignment, with gate posts needing additional reinforcement.
1. Planning and Preparation
The success of any chain link fence installation begins with thorough planning and preparation.
Check Local Regulations and Obtain Permits
Before purchasing materials or breaking ground, check with your local building department regarding fence regulations and permit requirements. Many municipalities have specific rules regarding:
- Maximum fence height (typically 4 feet in front yards and 6 feet in back yards for residential properties)
- Minimum setbacks from property lines
- Special requirements for corner lots or swimming pools
Mark Property Lines and Utilities
- Contact your local utility companies or call 811 to have underground utilities marked before digging
- Verify property lines using survey markers or documentation
- Consider drainage patterns to prevent water accumulation around fence posts
Determine Material Requirements
- Measure the total linear footage of the fence perimeter
- Count the number of corners and gates needed
- Calculate post quantities (typically spaced 10 feet apart for residential and 8 feet apart for commercial applications)
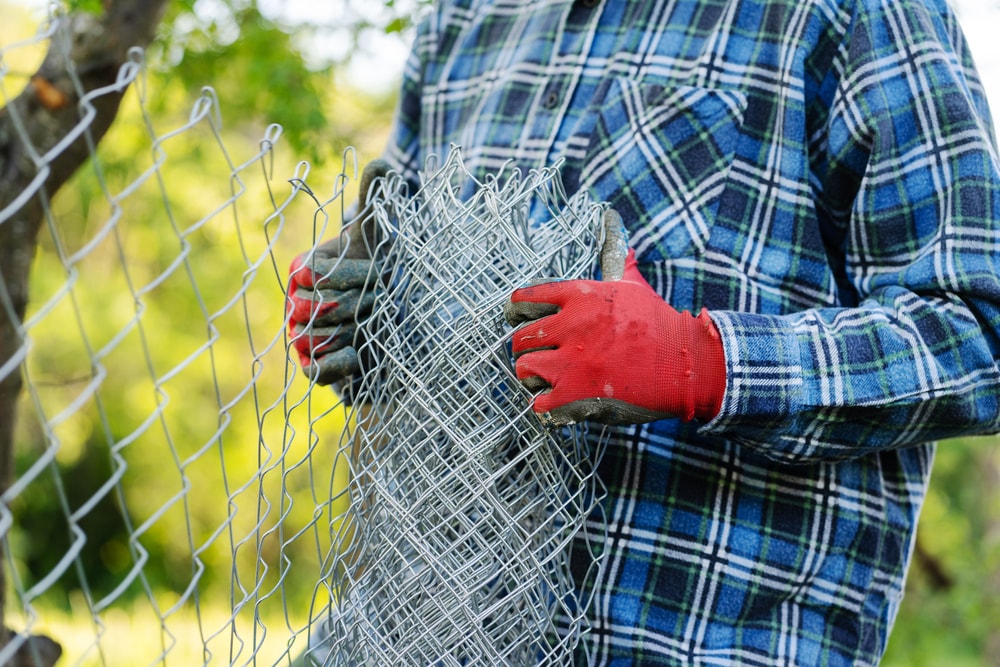
2. Gathering Materials and Tools
Before installing your chain link fence, it's important that you have the proper tools and materials to do so.
Essential Materials
- Chain link fabric: Available in various heights and gauges. Residential applications typically use 11.5-gauge, while commercial projects often require 9-gauge or heavier.
- Terminal posts: End, corner, and gate posts. Typically larger in diameter than line posts.
- Line posts: Spaced between terminal posts to support the fence fabric and top rail.
- Top rail: Runs along the top of the fence to provide stability and support.
- Tension wire: Used along the bottom of the fence for added stability.
- Post caps, rail ends, tension bands, tension bars, and tie wires: Hardware components for assembly.
- Concrete mix: Used to set posts firmly in the ground.
- Gate hardware: Includes hinges, latches, and gate frames if installing gates.
Required Tools
- Post hole digger or power auger
- Shovel and wheelbarrow
- Tape measure, string, and stakes
- Level
- Pliers/wire cutters
- Wrench set
- Come-along winch (for stretching fence fabric)
3. Setting Posts
The foundation of a sturdy chain link fence is properly installed posts.
Digging Post Holes
- Mark post locations using stakes and string, typically 10 feet apart for line posts
- Terminal posts require larger holes than line posts
- Dig holes with a diameter three times the width of the post
- Ensure holes extend below the frost line for your region
- Add 3-4 inches of gravel at the bottom of each hole for drainage
Setting Terminal Posts First
- Place the terminal post in the hole, ensuring it extends above ground to the appropriate height
- Terminal posts should be the height of the chain-link fabric plus two inches
- Line posts should be the height of the fabric minus two inches
- Fill the hole with concrete, sloping it away from the post to direct water away
- Use a level to ensure the post is perfectly plumb (vertical)
- Allow concrete to cure for 24-48 hours before continuing
Installing Line Posts
- Run a string line between terminal posts to ensure line posts will be straight
- Place line posts in holes, checking height and alignment with the string
- Mix and pour concrete around posts, sloping away from the post
- Verify each post is plumb using a level
- Allow concrete to cure before proceeding
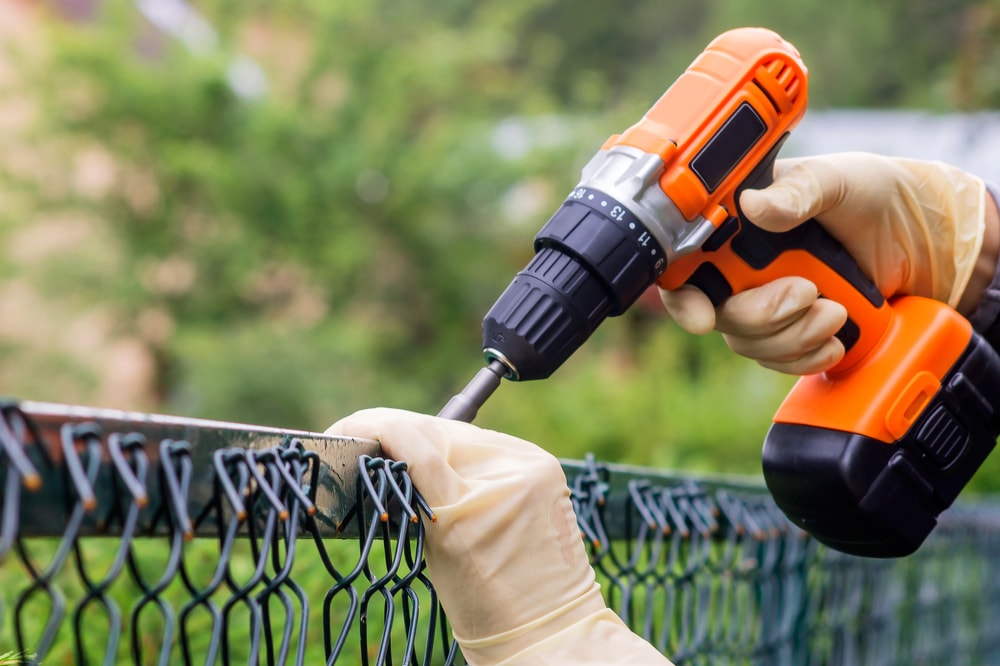
4. Installing Hardware and Rails
With posts securely set, the next step is to install the hardware components.
Post Caps and Bands
- Install post caps on all posts
- Attach tension bands to terminal posts
- Use 3 bands for fences up to 4 feet tall
- Use 4 bands for fences up to 5 feet tall
- Use 5 bands for fences up to 6 feet tall
- Position brace bands above tension bands on terminal posts
- Leave hardware loose initially; tighten after fabric installation
Top Rail Installation
- Insert the top rail through the loops on the line post caps
- Connect sections of top rail using sleeves or self-connecting rails
- Secure the top rail to terminal posts using rail ends
5. Installing Chain Link Fabric
Proper tension is critical for both appearance and function.
Preparing and Stretching the Fabric
- Position the roll of chain link fabric at one end of the fence line
- Unroll the fabric along the fence line
- Insert a tension bar through the end links of the fabric
- Attach the tension bar to the terminal post using tension bands and bolts
- Use a come-along winch to stretch the fabric to the opposite terminal post
- Stretch the fabric until it's taut but not overstretched
- Insert the second tension bar through the end links and secure to the terminal post
Attaching Fabric to Posts and Rails
- Secure the fabric to the top rail using tie wires every 24 inches
- Attach the fabric to line posts using tie wires every 12 inches
- Connect the fabric to the bottom tension wire using hog rings every 24 inches
- Tighten all hardware that was previously left loose
6. Installing Gates
Gates require special attention to ensure proper function and longevity.
Gate Post Preparation
- Ensure gate posts are set deeper and with more concrete than standard posts
- Verify that gate posts are perfectly plumb before proceeding
- Allow concrete to fully cure before hanging gates
Hanging the Gate
- Attach hinges to the gate post at appropriate heights
- Mount the gate to the hinges
- Adjust the gate to ensure proper clearance (typically 2 inches from the ground)
- Check that the gate swings freely and aligns properly when closed
- Install the latch hardware at a convenient height
7. Final Adjustments and Inspection
Before considering the job complete:
- Walk the entire fence line checking for:
- Proper tension in the fabric
- Secure connections at all hardware points
- Correct height and alignment throughout
- Tighten any loose hardware
- Trim excess tie wire ends
- Clean up the job site
Common Challenges and Solutions
While a chain link fence installation is usually smooth and straightforward, there are several possible challenges that you may face.
Installing on Uneven Terrain
When dealing with slopes or uneven ground, you have two main options:
- Stepped Installation: Install the fence in level sections that step down the slope.
- Racked/Raked Installation: Follow the contour of the slope by installing the fabric at an angle.
Dealing with Hard or Rocky Soil
- Use a power auger with specialized bits for difficult soil
- Consider adding water to soften the soil when digging
- In extremely rocky areas, create wider holes and use more concrete
Maintenance Tips
- Inspect annually for damage, loose hardware, or signs of rust
- Tighten any loose fittings
- Remove vegetation growing on or through the fence
- Clean with mild soap and water as needed
Conclusion
Installing a chain link fence requires careful planning, proper materials, and attention to detail. By following this professional guide, you'll be able to install a durable, functional fence that will provide security and definition to any property for years to come.
For commercial or complex installations, consider consulting with fencing professionals who have the specialized equipment and experience to handle challenging situations. At LS Building Products, we offer a complete range of fencing and railing solutions to meet your project needs, along with expert advice to ensure your success.
Contact Us Today to discuss your chain link fence project or to request a quote on materials for your next installation.
Frequently Asked Questions (FAQ)
How long does it take to install a chain link fence?
For a standard residential installation (approximately 150-200 linear feet), professional contractors typically complete the job in 1-2 days. DIY installations may take longer, especially for those without experience.
What gauge chain link is best for my project?
For residential applications, 11.5-gauge galvanized steel is standard. Commercial or high-security applications typically require 9-gauge or heavier material. The lower the gauge number, the thicker and stronger the wire.
How deep should fence posts be set?
Posts should be set below the frost line for your region. As a general rule, terminal posts should be set at least 36 inches deep, and line posts at least 24 inches deep, but local building codes may specify different requirements.
Can chain link fence be installed on a slope?
Yes, chain link fence can be installed on slopes using either a stepped method or a racked/raked method. The best approach depends on the degree of slope and aesthetic preferences.
.jpg)

